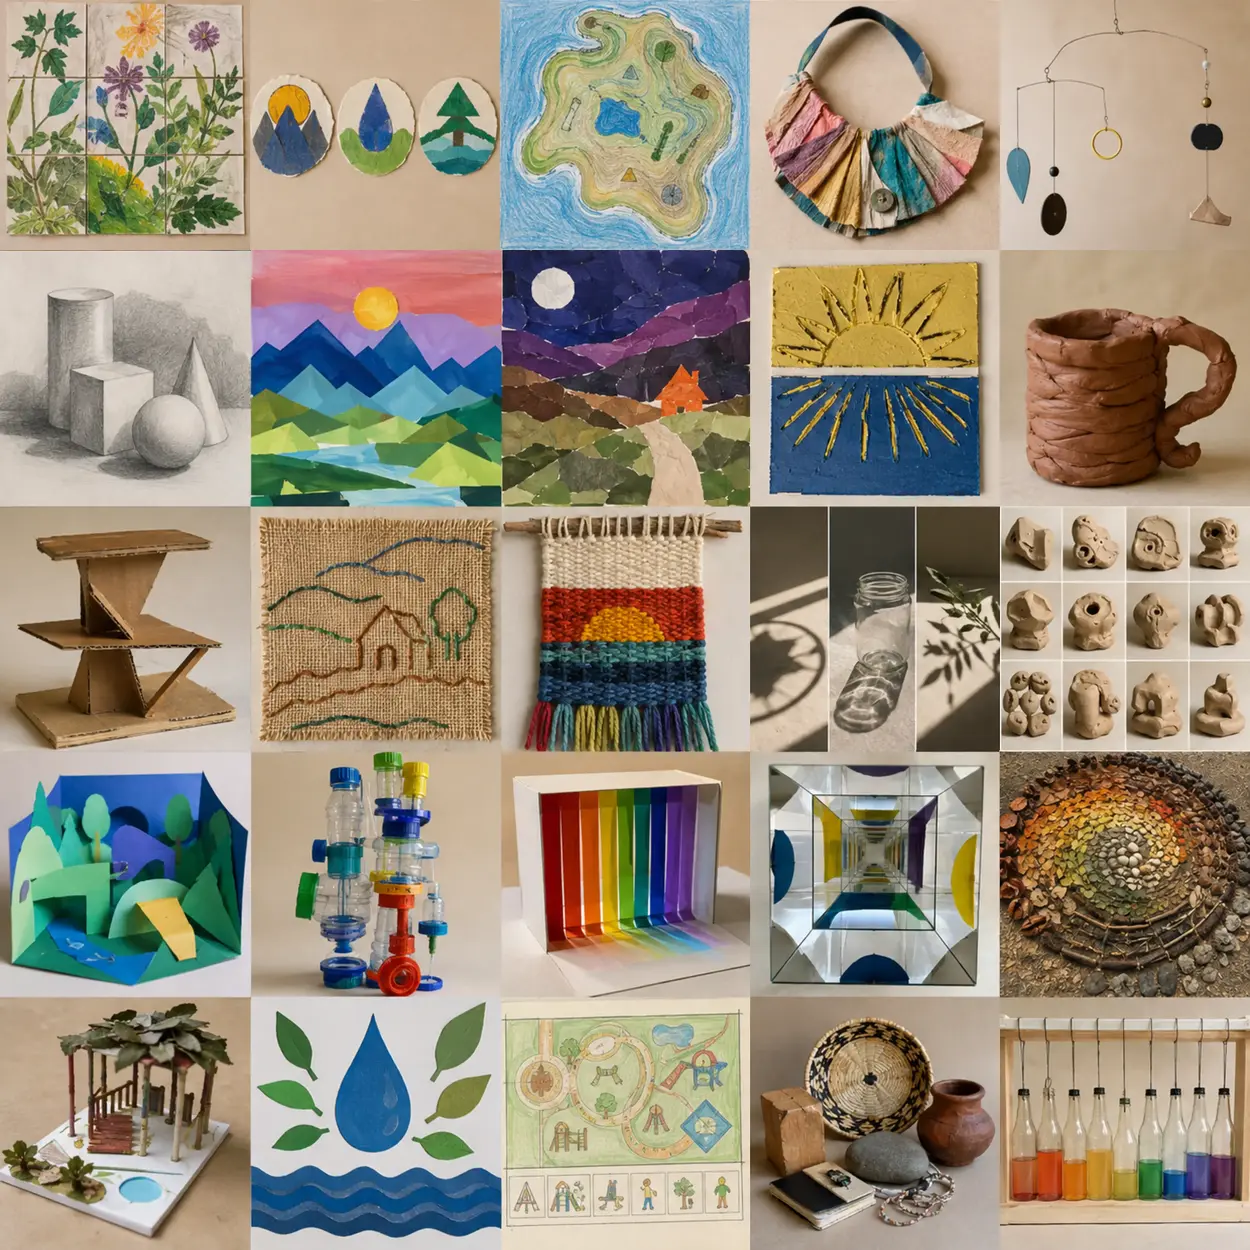
 SUCCESS EXAMPLE · NOT A TEMPLATE185
Grade 2 · LESSON 5 OF 369
Clay Coil Vessel With Asymmetrical Handle
Make clay coil vessel with asymmetrical handle. Use the example for ideas, but choose your own subject, colors, arrangement, and details.
Ask students to compare two approaches and explain one revision. Use the readiness check below to choose the starting point. Grade is a guide, not a limit on an individual learner. The example image is inspiration, not a required level of finish.
Right-sized challenge · Grade 2
Core goal: Compare two technique tests and use the preferred result in the project. Project skill: Compare two possible joins and choose the stronger one.
Before starting: Can the student repeat the basic action and explain one difference between two trials?
If it feels too hard: Practice the basic action before comparing results; keep one subject and fewer parts.
If the skill is already secure: Change just one variable in a third trial, predict its effect, and compare the result.
Adult support: Students manage familiar tools after demonstration; introduce only one unfamiliar process at a time.
Time: Plan in 45-minute meetings. Continue next meeting for drying, building, or unfamiliar techniques; do not rush completion.
Safety: Use school-approved, age-labeled materials. Adults manage sharp cutting, heated tools, aerosols, and specialty equipment. Avoid loose small parts for children who mouth objects; check allergies. Preview all outside images and links; children do not browse or create public accounts independently.
Suggested teaching starting points, not fixed ability bands. Adjust after observing the learner. Informed by NAEYC process-art guidance and the National Core Arts Standards framework.THE STUDIO GUIDE'S PROJECT PLAN
What students are making
Make clay coil vessel with asymmetrical handle. Use the example for ideas, but choose your own subject, colors, arrangement, and details.
Student directions
- 1
Make this: clay coil vessel with asymmetrical handle.
- 2
Your core skill today: Compare two possible joins and choose the stronger one.
- 3
Make a quick sketch. Label the main shapes, colors, parts, and where they will go.
- 4
Build the largest solid forms first. Join parts securely, test the balance, then add surface texture and important details.
- 5
Stop halfway. Compare the work to the project goal—not to another student’s art. Fix, add, remove, move, or strengthen one part.
- 6
Finish the important details. Make sure every loose part is attached and the main idea is easy to notice.
- 7
Share the work. Explain one choice and one change you made. Photograph or display it, then clean the workspace.
Artist connection
Bisa Butler OPEN MUSEUM OR GOOGLE ARTS & CULTURE RESOURCEstudy how textile color and pattern can build a portrait.
Teaching rule: borrow the artist’s question, process, material thinking, or relationship to audience—not a recognizable style.
Current art-world practice
Artist books and zines: sequencing, publishing, and circulation become part of the artwork.
Ask students where they might encounter this practice today: a museum, public space, screen, community event, landscape, or temporary installation.
Teacher preparation
- Use school-approved, age-labeled materials. Adults manage sharp cutting, heated tools, aerosols, and specialty equipment. Avoid loose small parts for children who mouth objects; check allergies. Preview all outside images and links; children do not browse or create public accounts independently.
- Prepare air-dry clay or classroom clay and clay tools in table groups; keep specialty materials at a distribution station.
- Preview the artist connection, choose one age-appropriate artwork for discussion, and avoid assigning students to copy a recognizable style.
- Print the matching worksheet and prepare a drying, display, testing, or photography area.
- Make one technique sample and one deliberately unsuccessful sample; do not make a finished project for copying.
Demonstration notes
- Show how to use and return the primary tools for clay and ceramic media.
- Model the key action slowly, narrating hand position, pressure, attachment, sequencing, or layering.
- Show how to test a small area before committing to the final surface.
- Demonstrate one repair: cover, crop, reinforce, reconnect, remix, or intentionally incorporate an accident.
Learning goals
- Explore how clay and ceramic media can communicate an idea.
- Make two purposeful artistic choices.
- Explain a revision.
Materials
- air-dry clay or classroom clay
- clay tools
- texture objects
- work boards
- table protection
- cleanup supplies
- optional student-proposed safe materials
Teaching sequence
- 1
0–5 MIN · CHECK READINESS — Can the student repeat the basic action and explain one difference between two trials?
- 2
5–10 MIN · MODEL — Compare two possible joins and choose the stronger one. Use this lesson's demonstration notes.
- 3
10–15 MIN · TEST — Practice the main action on a small sample. Use the support option if it is not yet comfortable.
- 4
15–35 MIN · MAKE — Follow this lesson's student directions. Check the core skill before adding complexity.
- 5
35–40 MIN · REVIEW — Compare two technique tests and use the preferred result in the project.
- 6
40–45 MIN · CLEAN + RECORD — Save work safely. Note the next step if another meeting is needed.
What success looks like
- The finished work clearly shows clay coil vessel with asymmetrical handle
- Materials and tools are controlled safely
- Feedback or testing leads to a visible revision
- The work meets the project constraint while remaining original
- Grade-level evidence: Compare two technique tests and use the preferred result in the project. Compare two possible joins and choose the stronger one.
Teacher questions
- What should a viewer notice first?
- How does this material help communicate the idea?
- How is this connected to the artist’s question without copying the artist’s style?
- What evidence shows the revision improved the work?
Common problems + responses
- Students copy the success image — cover it after observation and require a changed subject, structure, material, or color decision.
- The artist connection becomes imitation — return to the artist’s big question, process, or use of audience instead of surface appearance.
- Materials fail — pause for a joining or mark test using scraps.
- Cleanup replaces reflection — assign table jobs before distributing materials.
Access + differentiation
- Practice the basic action before comparing results; keep one subject and fewer parts.
- Offer adapted grips, a stabilized surface, rest breaks, and spoken or dictated responses. Adjust access without taking over the creative decisions.
- Change just one variable in a third trial, predict its effect, and compare the result.
Material substitutions
- No specialty material: translate the project into paper, cardboard, tape, and drawing tools.
- No camera or tablet: use a viewfinder drawing or sequential storyboard.
- Short class: finish planning and one focused study; continue construction next meeting.
- Advanced studio: change scale, audience, site, or material while preserving the core idea.
Four-part assessment rubric
IDEA — The project communicates an original response.
CRAFT — Materials are controlled, connected, and cared for.
PROCESS — The student plans, tests, persists, and revises.
REFLECTION — The student explains a choice using evidence.
Vocabulary
Student reflection
What did you notice? Which choice feels most like yours? What would you change next?
National Core Arts Standards
VA:Cr1.1.2a — Brainstorm collaboratively
VA:Cr2.1.2a — Experiment with approaches
VA:Cr3.1.2a — Reflect with peers
STUDENT PROMPT