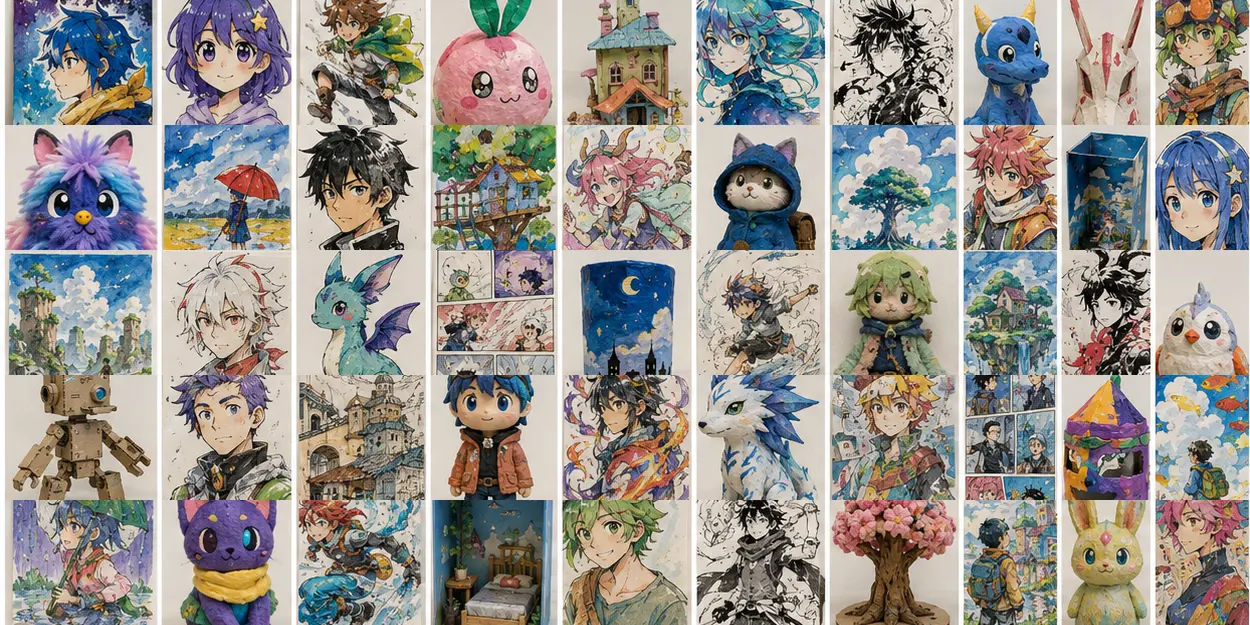
 SUCCESS EXAMPLE · NOT A TEMPLATE2641
Grade 3 · LESSON 411 OF 519
Two-Character Ink Scene — Grade 3
Make a drawing on paper of black-and-white drawing using two original figures, overlap, expression, and story tension supported by gesture studies, a material test, and a visible revision. Practice movement using drawing marks only. Choose your own details and arrangement.
Require a thumbnail or prototype, purposeful material choices, and an evidence-based revision. Use the readiness check below to choose the starting point. Grade is a guide, not a limit on an individual learner. The example image is inspiration, not a required level of finish.
Right-sized challenge · Grade 3
Core goal: Make a short plan, use a technique deliberately, and revise one area for a stated reason. Project skill: Control the lesson’s line, shape, texture, or value technique in one chosen area.
Before starting: Can the student make a controlled trial and identify what they want to improve?
If it feels too hard: Model the technique on a small sample and narrow the final work to one focal area.
If the skill is already secure: Compare two possible revisions and explain which best supports the intended effect.
Adult support: Use a midpoint check. Separate unfamiliar technique practice from the final piece.
Time: Plan in 45-minute meetings. Continue next meeting for drying, building, or unfamiliar techniques; do not rush completion.
Safety: Use school drawing tools suitable for the learner. Offer chunky crayons or pencils instead of dusty media for younger children. Adults manage sharpening. Never blow drawing dust; use damp cleanup.
Suggested teaching starting points, not fixed ability bands. Adjust after observing the learner. Informed by NAEYC process-art guidance and the National Core Arts Standards framework.THE STUDIO GUIDE'S PROJECT PLAN
What students are making
Make a drawing on paper of black-and-white drawing using two original figures, overlap, expression, and story tension supported by gesture studies, a material test, and a visible revision. Practice movement using drawing marks only. Choose your own details and arrangement.
Student directions
- 1
Draw the subject for “Two-Character Ink Scene — Grade 3” on one sheet of paper. Make two small pencil sketches and choose the clearer arrangement.
- 2
Your core skill today: Control the lesson’s line, shape, texture, or value technique in one chosen area.
- 3
On scrap paper, practice movement. Draw one light sweeping line for the main movement. Add the largest body or object shapes around it before smaller features.
- 4
Lightly place the main shapes on the final paper. Pause to compare their positions and sizes before drawing small details.
- 5
Draw one light sweeping line for the main movement. Add the largest body or object shapes around it before smaller features.
- 6
Look from a little farther away. Redraw one unclear line or adjust the spacing, mark direction, or pencil pressure.
- 7
Finish with drawing marks only. Keep your trial sketch beside the finished drawing and point to the change that helped most.
Artist connection
Anime & Manga · Backgrounds & Story Worlds
Hayao Miyazaki OPEN THE DIRECT EDUCATIONAL RESOURCE · TEACHER PREVIEW REQUIREDThe Academy Museum presents Miyazaki’s imageboards, character designs, storyboards, and backgrounds. Classroom connection: examine a teacher-selected setting and ask how the environment suggests a story. Give your own setting one clear place to explore. This is an artist study, not a painting tutorial.
Teaching rule: borrow the artist’s question, process, material thinking, or relationship to audience—not a recognizable style.
Current art-world practice
Drawing study: explore movement through observation, trial sketches, and deliberate mark-making on paper.
Ask students where they might encounter this practice today: a museum, public space, screen, community event, landscape, or temporary installation.
Teacher preparation
- Use school drawing tools suitable for the learner. Offer chunky crayons or pencils instead of dusty media for younger children. Adults manage sharpening. Never blow drawing dust; use damp cleanup.
- Set out drawing paper and the listed drawing tools only.
- Select an age-appropriate reference showing the same subject or drawing technique.
- Prepare a small movement demonstration and a version with an unclear line or misplaced shape for comparison.
Demonstration notes
- Draw one light sweeping line for the main movement. Add the largest body or object shapes around it before smaller features.
- Demonstrate light planning marks and a clearer final line.
- Show how to change a line by erasing, redrawing, or adjusting its weight.
Learning goals
- Use movement to describe the chosen subject.
- Control a drawing tool through line direction, spacing, or pressure.
- Compare a trial sketch with the final drawing and explain one revision.
Materials
- drawing paper
- scrap paper for mark tests
- drawing pencil
- eraser
- optional colored pencils
Teaching sequence
- 1
0–5 MIN · CHECK READINESS — Can the student make a controlled trial and identify what they want to improve?
- 2
5–10 MIN · MODEL — Control the lesson’s line, shape, texture, or value technique in one chosen area. Use this lesson's demonstration notes.
- 3
10–15 MIN · TEST — Practice the main action on a small sample. Use the support option if it is not yet comfortable.
- 4
15–35 MIN · MAKE — Follow this lesson's student directions. Check the core skill before adding complexity.
- 5
35–40 MIN · REVIEW — Make a short plan, use a technique deliberately, and revise one area for a stated reason.
- 6
40–45 MIN · CLEAN + RECORD — Save work safely. Note the next step if another meeting is needed.
What success looks like
- The outcome is a drawing on one sheet of paper.
- The direction of movement is readable from the largest lines.
- Drawing marks show deliberate choices.
- The student identifies a specific drawing revision.
- Grade-level evidence: Make a short plan, use a technique deliberately, and revise one area for a stated reason. Control the lesson’s line, shape, texture, or value technique in one chosen area.
Teacher questions
- Which shape or line should you draw first?
- Where do you need a lighter, darker, or differently directed mark?
- Which drawing change made your subject clearer?
Common problems + responses
- Details are added before the subject fits — sketch the largest shapes lightly first.
- Every line is equally dark — test pressure on scrap and select important edges.
- Repeated erasing damages paper — make trial sketches first and redraw gently.
Access + differentiation
- Model the technique on a small sample and narrow the final work to one focal area.
- Offer adapted grips, a stabilized surface, rest breaks, and spoken or dictated responses. Adjust access without taking over the creative decisions.
- Compare two possible revisions and explain which best supports the intended effect.
Material substitutions
- Use a pencil or crayon if the named drawing tool is unavailable.
- Use larger paper and a thicker drawing tool for grip support.
- For a shorter class, finish one focused drawing study.
Four-part assessment rubric
SUBJECT — The drawing addresses the chosen subject.
TECHNIQUE — The direction of movement is readable from the largest lines.
PROCESS — A trial and revision are visible.
REFLECTION — The student points to or explains a drawing choice.
Vocabulary
Student reflection
What did you notice? Which choice feels most like yours? What would you change next?
National Core Arts Standards
VA:Cr1.1.3a — Elaborate imaginative ideas
VA:Cr2.1.3a — Create personally satisfying art
VA:Cr3.1.3a — Revise through reflection
STUDENT PROMPT