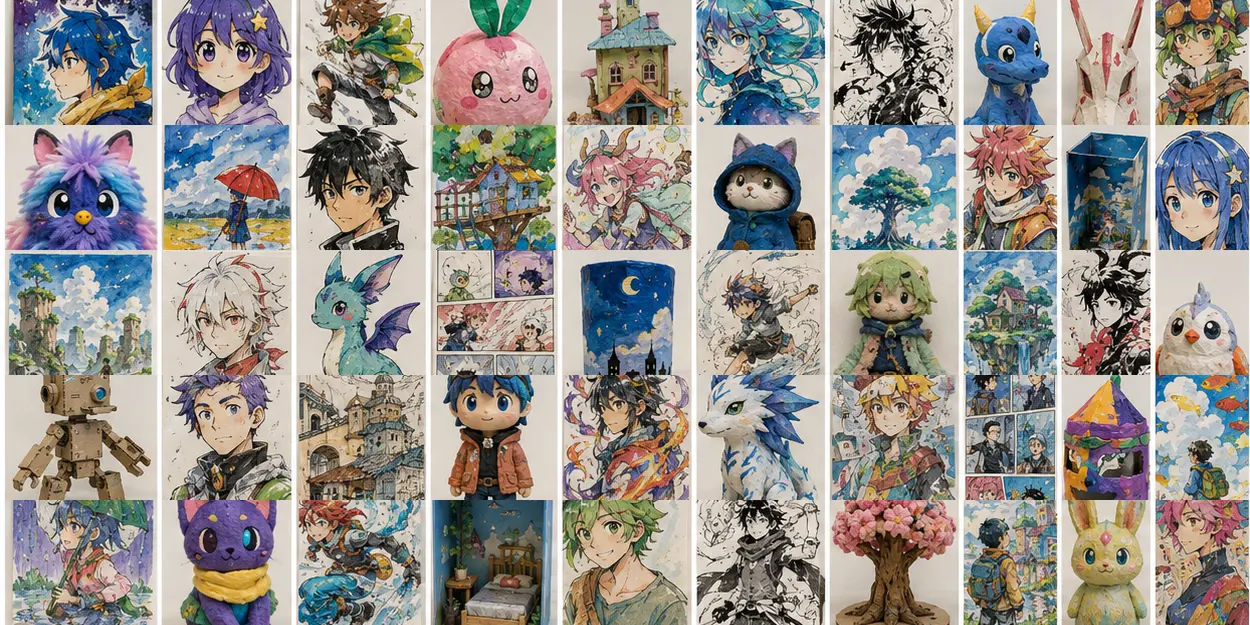
 SUCCESS EXAMPLE · NOT A TEMPLATE2667
Grade 4 · LESSON 442 OF 584
White-Hair Ink Portrait — Grade 4
Make a drawing on paper of refined original portrait using pale hair shapes, dark costume, and red eye accents using original-world rules, consistent design choices, critique, and documentation. Practice proportion and expression using drawing marks only. Choose your own details and arrangement.
Students establish criteria, manage materials, and use critique to strengthen communication. Use the readiness check below to choose the starting point. Grade is a guide, not a limit on an individual learner. The example image is inspiration, not a required level of finish.
Right-sized challenge · Grade 4
Core goal: Compare two plans and refine technique to guide the viewer’s attention. Project skill: Compare angles and relative sizes where relevant; refine the lesson’s drawing technique in one area.
Before starting: Can the student explain a technique choice and use feedback to identify a next step?
If it feels too hard: Provide a worked technique sample and a small-format study before the full project.
If the skill is already secure: Test a different viewpoint or arrangement; defend the choice using visible evidence.
Adult support: Students plan materials and checkpoints; adults supervise unfamiliar tools and processes.
Time: Plan in 45-minute meetings. Continue next meeting for drying, building, or unfamiliar techniques; do not rush completion.
Safety: Use school drawing tools suitable for the learner. Offer chunky crayons or pencils instead of dusty media for younger children. Adults manage sharpening. Never blow drawing dust; use damp cleanup.
Suggested teaching starting points, not fixed ability bands. Adjust after observing the learner. Informed by NAEYC process-art guidance and the National Core Arts Standards framework.THE STUDIO GUIDE'S PROJECT PLAN
What students are making
Make a drawing on paper of refined original portrait using pale hair shapes, dark costume, and red eye accents using original-world rules, consistent design choices, critique, and documentation. Practice proportion and expression using drawing marks only. Choose your own details and arrangement.
Student directions
- 1
Draw the subject for “White-Hair Ink Portrait — Grade 4” on one sheet of paper. Make two small pencil sketches and choose the clearer arrangement.
- 2
Your core skill today: Compare angles and relative sizes where relevant; refine the lesson’s drawing technique in one area.
- 3
On scrap paper, practice proportion and expression. Draw the head lightly and mark where the eyes and mouth go. Compare their size and spacing before adding the hair and smaller features.
- 4
Lightly place the main shapes on the final paper. Pause to compare their positions and sizes before drawing small details.
- 5
Draw the head lightly and mark where the eyes and mouth go. Compare their size and spacing before adding the hair and smaller features.
- 6
Look from a little farther away. Redraw one unclear line or adjust the spacing, mark direction, or pencil pressure.
- 7
Finish with drawing marks only. Keep your trial sketch beside the finished drawing and point to the change that helped most.
Artist connection
Anime & Manga · Line Art & Prints
Akira Toriyama OPEN THE DIRECT EDUCATIONAL RESOURCE · TEACHER PREVIEW REQUIREDThis official article displays character illustrations credited to Toriyama. Classroom connection: compare the large shapes, faces, and costume details of two teacher-selected designs. Keep your own outline readable; for a print, simplify the drawing into bold shapes before making the plate. Preview still images only; trailers and combat content are not assigned.
Teaching rule: borrow the artist’s question, process, material thinking, or relationship to audience—not a recognizable style.
Current art-world practice
Drawing study: explore proportion and expression through observation, trial sketches, and deliberate mark-making on paper.
Ask students where they might encounter this practice today: a museum, public space, screen, community event, landscape, or temporary installation.
Teacher preparation
- Use school drawing tools suitable for the learner. Offer chunky crayons or pencils instead of dusty media for younger children. Adults manage sharpening. Never blow drawing dust; use damp cleanup.
- Set out drawing paper and the listed drawing tools only.
- Select an age-appropriate reference showing the same subject or drawing technique.
- Prepare a small proportion and expression demonstration and a version with an unclear line or misplaced shape for comparison.
Demonstration notes
- Draw the head lightly and mark where the eyes and mouth go. Compare their size and spacing before adding the hair and smaller features.
- Demonstrate light planning marks and a clearer final line.
- Show how to change a line by erasing, redrawing, or adjusting its weight.
Learning goals
- Use proportion and expression to describe the chosen subject.
- Control a drawing tool through line direction, spacing, or pressure.
- Compare a trial sketch with the final drawing and explain one revision.
Materials
- drawing paper
- scrap paper for mark tests
- drawing pencil
- eraser
- optional colored pencils
Teaching sequence
- 1
0–5 MIN · CHECK READINESS — Can the student explain a technique choice and use feedback to identify a next step?
- 2
5–10 MIN · MODEL — Compare angles and relative sizes where relevant; refine the lesson’s drawing technique in one area. Use this lesson's demonstration notes.
- 3
10–15 MIN · TEST — Practice the main action on a small sample. Use the support option if it is not yet comfortable.
- 4
15–35 MIN · MAKE — Follow this lesson's student directions. Check the core skill before adding complexity.
- 5
35–40 MIN · REVIEW — Compare two plans and refine technique to guide the viewer’s attention.
- 6
40–45 MIN · CLEAN + RECORD — Save work safely. Note the next step if another meeting is needed.
What success looks like
- The outcome is a drawing on one sheet of paper.
- The face has intentional feature placement and a readable expression.
- Drawing marks show deliberate choices.
- The student identifies a specific drawing revision.
- Grade-level evidence: Compare two plans and refine technique to guide the viewer’s attention. Compare angles and relative sizes where relevant; refine the lesson’s drawing technique in one area.
Teacher questions
- Which shape or line should you draw first?
- Where do you need a lighter, darker, or differently directed mark?
- Which drawing change made your subject clearer?
Common problems + responses
- Details are added before the subject fits — sketch the largest shapes lightly first.
- Every line is equally dark — test pressure on scrap and select important edges.
- Repeated erasing damages paper — make trial sketches first and redraw gently.
Access + differentiation
- Provide a worked technique sample and a small-format study before the full project.
- Offer adapted grips, a stabilized surface, rest breaks, and spoken or dictated responses. Adjust access without taking over the creative decisions.
- Test a different viewpoint or arrangement; defend the choice using visible evidence.
Material substitutions
- Use a pencil or crayon if the named drawing tool is unavailable.
- Use larger paper and a thicker drawing tool for grip support.
- For a shorter class, finish one focused drawing study.
Four-part assessment rubric
SUBJECT — The drawing addresses the chosen subject.
TECHNIQUE — The face has intentional feature placement and a readable expression.
PROCESS — A trial and revision are visible.
REFLECTION — The student points to or explains a drawing choice.
Vocabulary
Student reflection
What did you notice? Which choice feels most like yours? What would you change next?
National Core Arts Standards
VA:Cr1.1.4a — Brainstorm multiple approaches
VA:Cr2.1.4a — Develop artwork through materials
VA:Cr3.1.4a — Revise using insights
STUDENT PROMPT