GRADES 3–5 · Whole Portraits · Construction
Portrait Placement: Plan It in Shapes
Name ____________________ Date __________
WHAT YOU WILL MAKEMake one labeled shape plan and one drawing built from it. Focus on portrait placement.
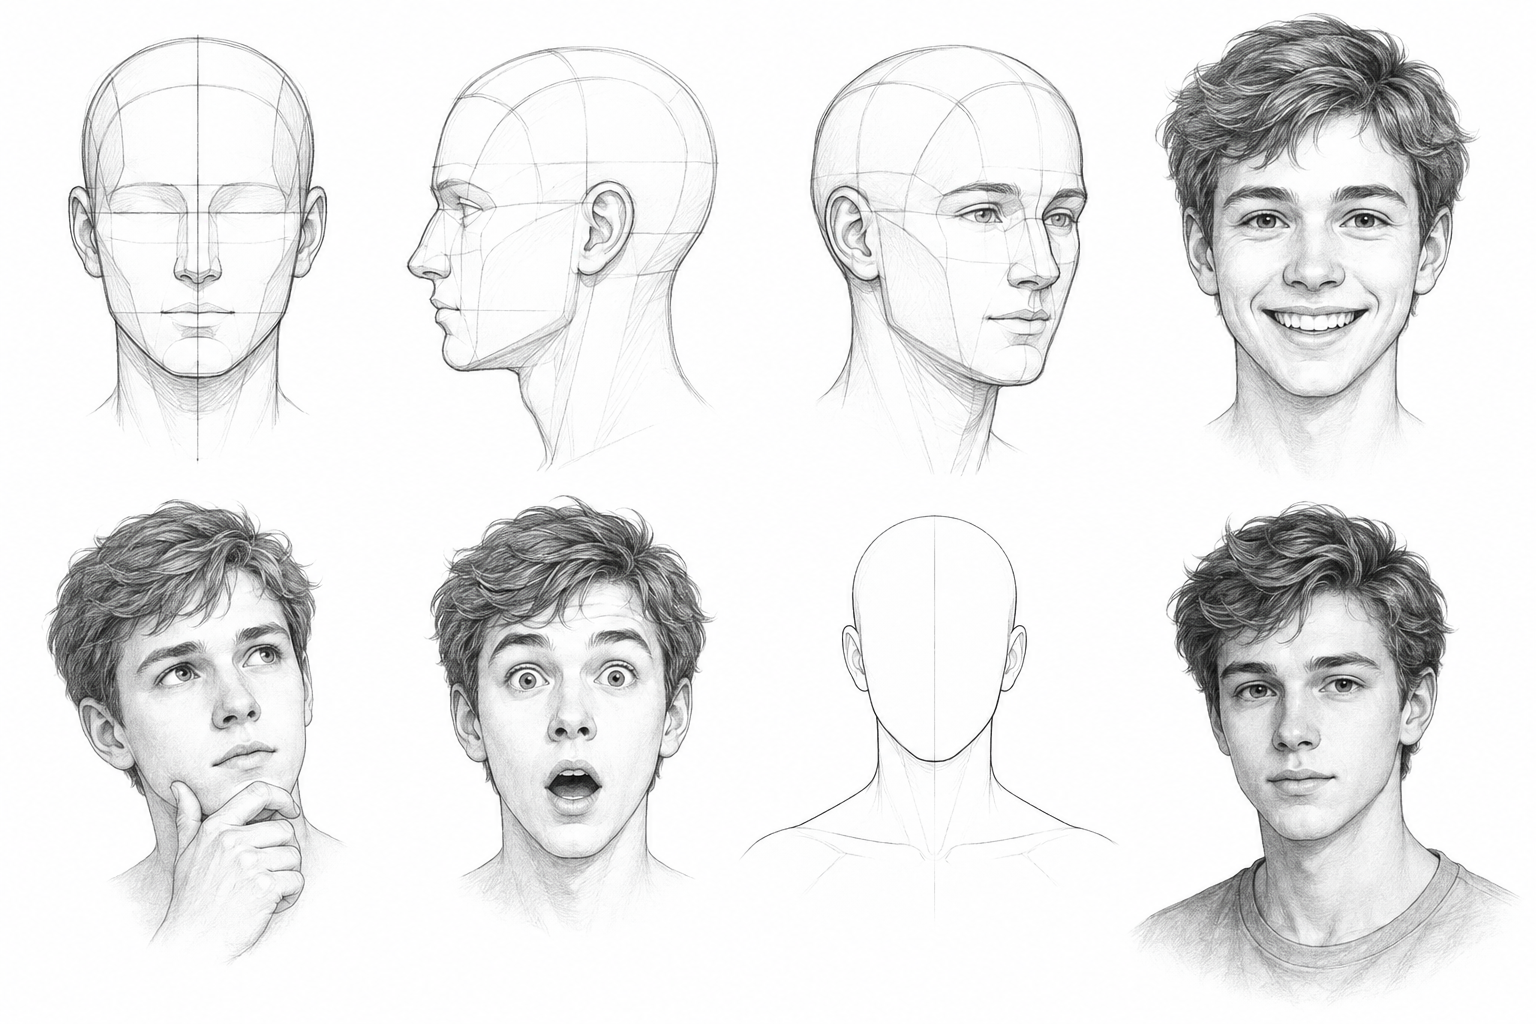
Shared feature reference. It may not show this task’s exact pose, accessory, or style. Use the teacher’s matching reference too.Draw it step by step
Decide where the head belongs on the page.
- Divide the practice space in two. In the first half use only large guide shapes; label three useful landmarks.
- Make three small page boxes.
- Try the head high, centered, and off-center.
- Choose the layout that leaves useful space around the gaze.
- In the second half rebuild the subject using your plan, then remove guides that no longer help.
Watch out → Try this
Common drawing problem: The head is crowded by the page edge
Repair: Plan margins in thumbnails before the large drawing.
Check your work: Can you point to three landmarks that helped place the drawing?
Materials: pencil, eraser, paper, and a mirror or teacher-approved reference. Optional black drawing pen; no painting required.
Portrait Placement: Plan It in Shapes · Practice page
Name ____________________ Make light trials first. Divide a box further if your task needs extra versions.
1 · Warm-up: Portrait Placement4 · Independent application
My evidence: Can you point to three landmarks that helped place the drawing?
I changed __________________ because I noticed __________________.
My next practice goal: __________________________________________________