GRADES 3–5 · Ears · Whole Portrait Challenge
Ear Rim Thickness: Use It in a Portrait
Name ____________________ Date __________
WHAT YOU WILL MAKEMake a warm-up study and a head-and-shoulders portrait that uses the skill. Focus on ear rim thickness.
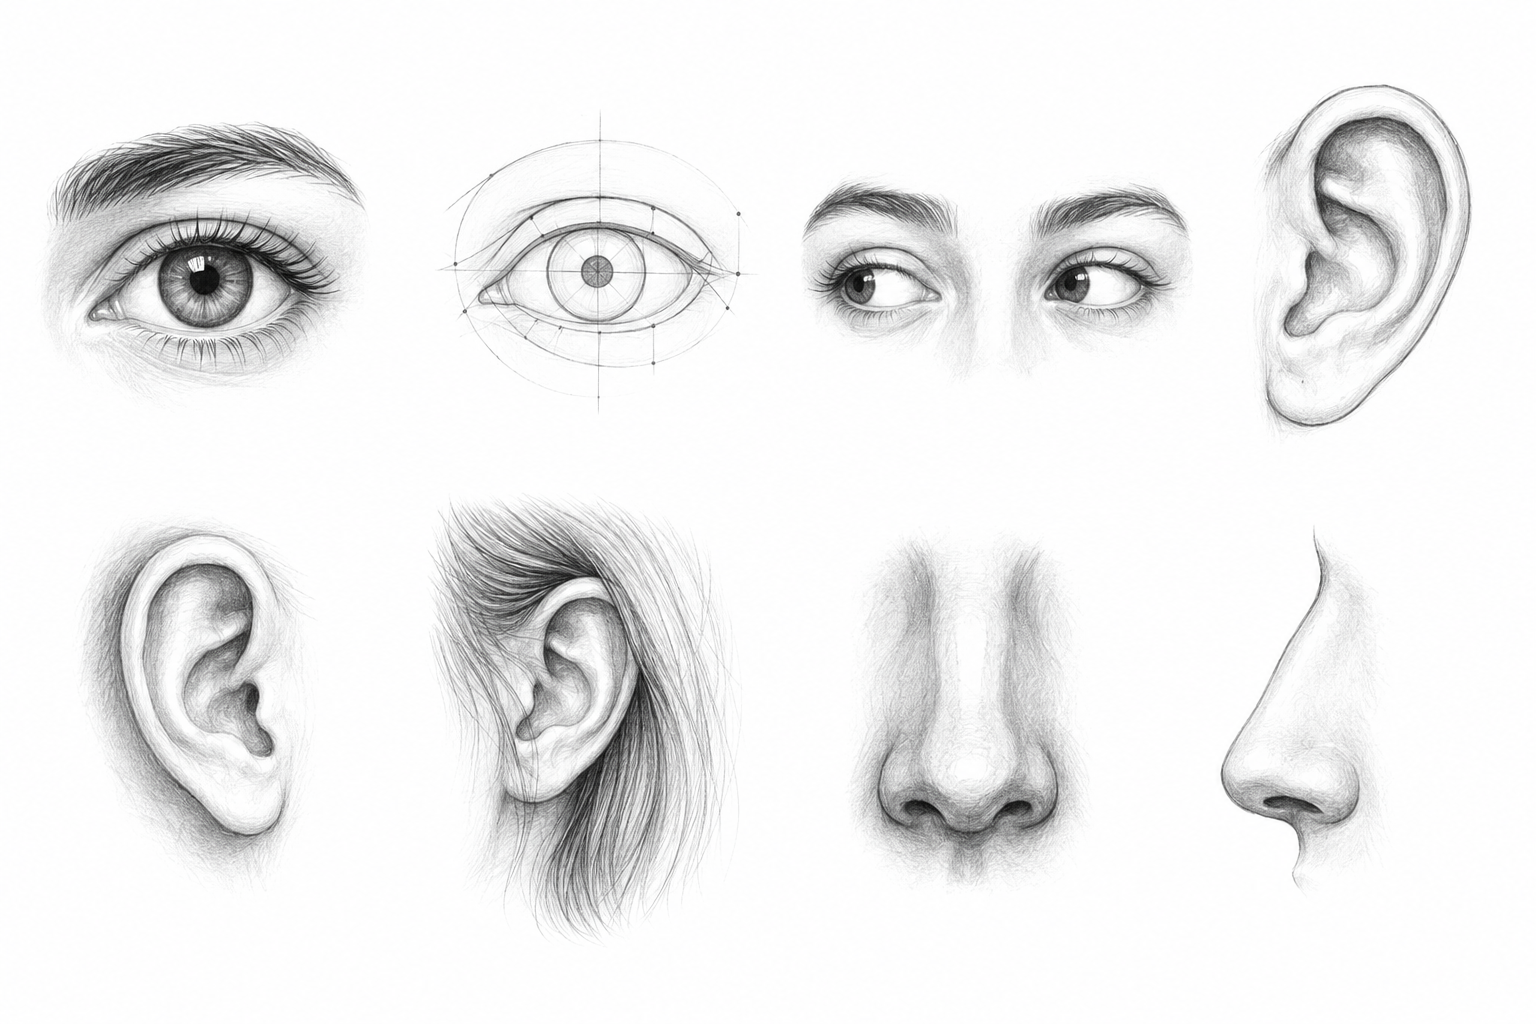
Shared feature reference. It may not show this task’s exact pose, accessory, or style. Use the teacher’s matching reference too.Draw it step by step
Show the folded rim as a narrow band.
- Practice the focus once in a small box. Plan a larger head-and-shoulders drawing, choosing observed or original cartoon style.
- Draw the outer ear shape.
- Add an inner curve following part of the rim.
- Let the curves separate and meet where observed.
- Use the practiced skill in the larger portrait. Keep other details simple; mark where the skill improved the final work.
Watch out → Try this
Common drawing problem: Two identical nested outlines
Repair: Vary the distance between the curves.
Check your work: Where did the warm-up change a decision in your final portrait?
Materials: pencil, eraser, paper, and a mirror or teacher-approved reference. Optional black drawing pen; no painting required.
Ear Rim Thickness: Use It in a Portrait · Practice page
Name ____________________ Make light trials first. Divide a box further if your task needs extra versions.
1 · Warm-up: Ear Rim Thickness4 · Independent application
My evidence: Where did the warm-up change a decision in your final portrait?
I changed __________________ because I noticed __________________.
My next practice goal: __________________________________________________