Make dots, hatching, crosshatching, and one continuous contour line.
Teacher shows one slow example.
TEACHER QUICK PLAN · 15–25 MINUTES
Ink Mark Lab: Kindergarten
Focus: Use dots, lines, hatching, washes, and controlled contrast to build an image.
Start: Move your hands in the air first. Name what you notice before using materials.
 SUCCESSFUL SKILL IN A PROJECT
SHOW STUDENTS BEFORE THEY BEGIN
See where this skill can go
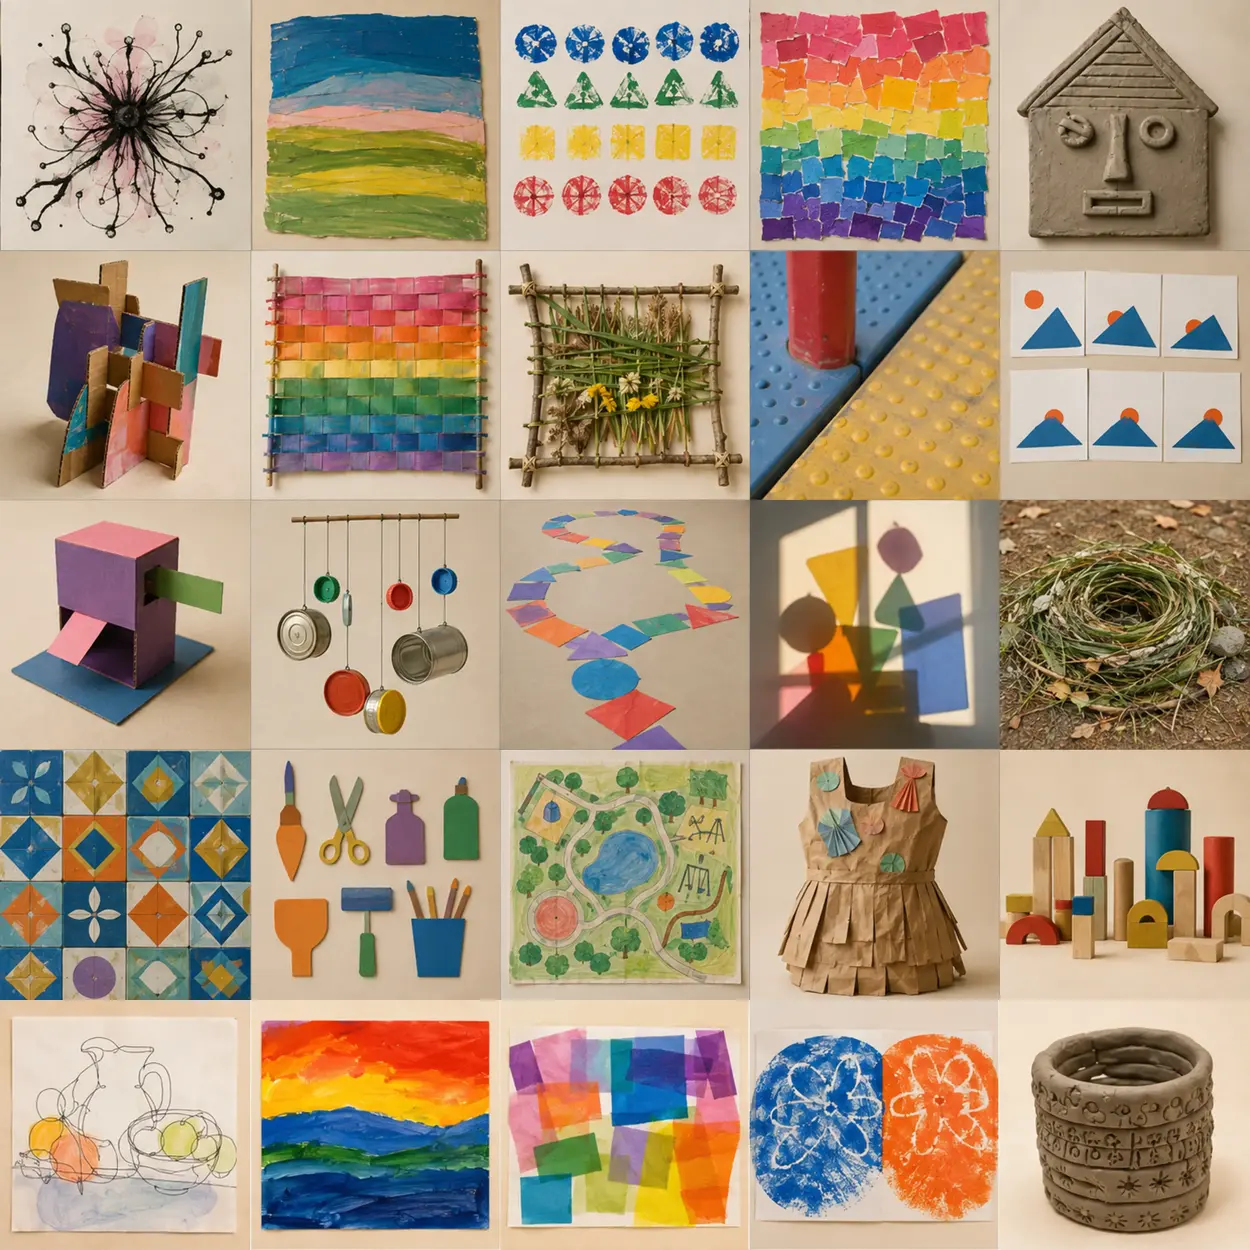
This Kindergarten example uses ink inside a finished project. Notice the technique, then cover the image so students invent their own subject.
OPEN THE MATCHING PROJECT: Ink-And-Water Abstract Bloom Drawing ↗VISUAL HOW-TO · READ LEFT TO RIGHT
Watch → Test → Compare → Improve
Change mark: dot / hatch / contour.
Keep every first attempt.Look for distinct textures.
Circle or point to evidence.Repeat the strongest choice and change one detail on purpose.
Explain what became clearer.THE FINISHED SKILL TARGET
What students should be able to do
Use dots, lines, hatching, washes, and controlled contrast to build an image. Students should show at least two tests and one visibly improved attempt—not a finished artwork.
Materials
- washable ink or black marker
- small brush or dip pen
- water cup for wash practice
- absorbent practice paper
Demonstrate these actions
- Make dots, hatching, crosshatching, and one continuous contour line.
- Pull the tool toward the hand instead of pushing it.
- Test a pale wash before adding darker ink.
20-minute teaching sequence
- 0–3 min · Name the skill — Tell students: “Today we are practicing ink, not making a finished masterpiece.”
- 3–7 min · Teacher demonstration — Show the three actions listed below. Keep the sample unfinished so students focus on technique rather than copying.
- 7–10 min · First test — Students complete Test 1 while changing one variable only.
- 10–14 min · Compare — Students point to, circle, or label what worked and decide what to change.
- 14–20 min · Improved try — Students repeat the useful choice in the larger box and intentionally improve it.
- Final 3 min · Check + reflect — Use the checklist, complete the sentence, and clean materials.
Useful teacher language
- “Show me the part where you practiced ink.”
- “What did you change between your first and second attempt?”
- “Point to the choice you want to use again.”
Common problems and quick fixes
- Ink puddles — remove excess ink and start the stroke away from the subject.
- A mistake feels permanent — turn the mark into texture, shadow, or pattern.
SUPPORT MATERIAL · PROJECT OR DISPLAY THIS CHART
Ink understanding chart
CONTROLTRY THISLOOK FOR
Markdot / hatch / contourdistinct textures
Dilutionfull ink / pale washa range of dark to light
Spacingclose / widevalue created without smearing
WORDS TO USEhatchingcrosshatchingwashcontrast
MATCHED EDUCATIONAL EXAMPLE
See the skill in a trusted collection
Preview this teacher resource, select one age-appropriate example, and ask students to identify the same controls shown in the chart.
Move from practice to a project
After this practice, students are ready to use the strongest ink technique in a full lesson while making their own subject and composition choices.
PRINTABLE STUDENT PAGEPrint only the worksheet section below.
STUDENT SKILL-BUILDING WORKSHEET
Ink Mark Lab: Kindergarten
Follow the Studio Guide
- Set up the worksheet and materials for ink practice.
- Use dots, lines, hatching, washes, and controlled contrast to build an image.
- Make four tests, circle the clearest one, and use it again.
- Use the strongest test in the final practice box, but change one detail on purpose.
- Clean the workspace, then complete the reflection sentence.
Success check
Reflection
My favorite discovery was…
Use browser Print / Save as PDF