MODERN ART LESSONS · STUDENT WORKSHEET
Reduction-Style Two-Layer Foam Print
Make reduction-style two-layer foam print. Use the example for ideas, but choose your own subject, colors, arrangement, and details.
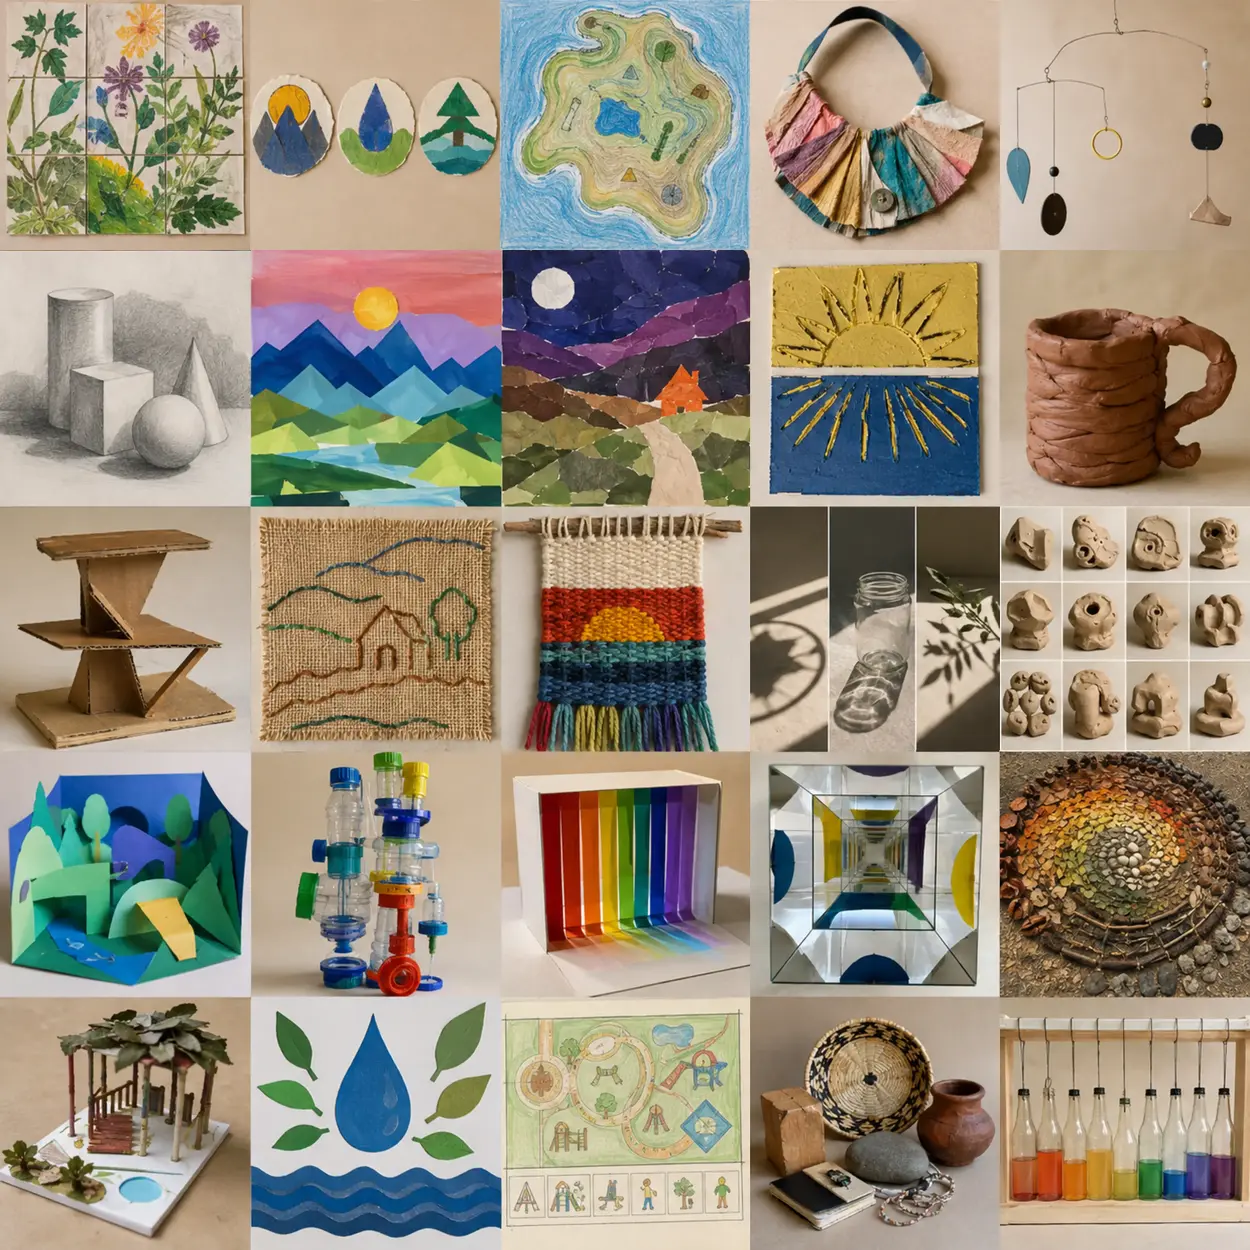
Study the example for possibilities, then close or cover it. Your work should make different choices.
What to do
- Make a print for “Reduction-Style Two-Layer Foam Print”. Keep the subject, but invent your arrangement.
- Your core skill today: Indent a foam plate with a dull pencil; compare light and firm printing pressure.
- Indent a foam plate with a dull pencil; compare light and firm printing pressure.
- Draw the large shapes of your subject on foam with a dull pencil to indent lines. An adult prepares the plate edges. Keep details bold.
- Try a print on spare paper. Use less color if shapes fill in; press evenly if a part is missing.
- Apply a thin even layer of color, place paper once, rub, and lift. Repeat after improving the test.
- Let the print dry and clean your tools. Point to a mark you chose.
My project: I am making reduction-style two-layer foam print. Draw or write your idea.
My choices: Circle or write the colors and materials you will use.
My plan: Draw the big shapes or main parts and show where they will go.
My first step: What will you make first?
Halfway check: What part needs to be added, moved, fixed, or made stronger?
Finish check: Are the main idea, important details, and connections complete?
Share: One choice I made was… One change I made was…
Skill evidence: Indent a foam plate with a dull pencil; compare light and firm printing pressure. Show your test and explain what you chose; speaking or dictation is welcome.
Use browser Print / Save as PDF